
A couple years ago, I bought a new gaming laptop. It’s an ASUS ROG TUF laptop, model FA617. It had solid reviews, good specs, and was in the perfect price range for me. Also it’s just a great model number. For a while it worked great, but I noticed over time it was getting slower and less stable. Firefox took forever to open, and was occasionally unresponsive for no obvious reason. GIMP started straight-up crashing while looking for the wrong display driver (the FA617 has switchable graphics). In fact, as I’m writing this and taking screenshots, I’m experiencing a several-second lag between pressing the Print Screen key and the actual screen capture. And it takes Windows a full 30 seconds to read and recognize a flash drive.
I, like many, have been frustrated with the decreasing quality of Windows’s user experience. That is why I’m going to try Linux on this laptop. I’ve never been afraid of Linux, but I’ve never had much interest in using it as a daily driver until now. I’ve also been using Ubuntu at work for a year and a half now and I’m pretty comfortable with it.
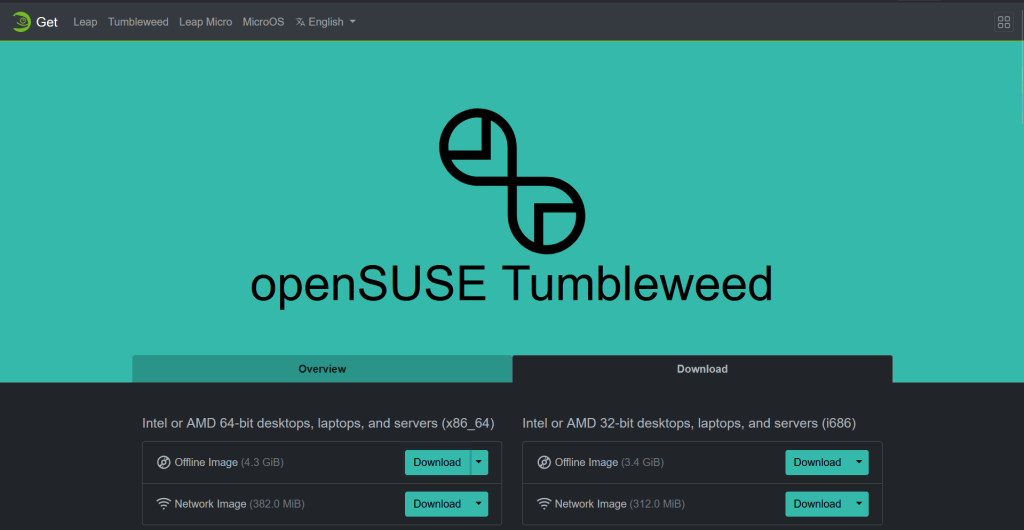
Of course, the first question that gets asked after someone says “I’m going to try Linux” is “What distro?” Obviously, Ubuntu would be the easiest for me since I use that at work. However, I spent a fair amount of money getting a cool ROG laptop, and I’d like to be able to use all those features. Enter Linux for ROG Notebooks, a FOSS project to add support for all those fun features to Linux. Linux for ROG Notebooks officially supports two distros: OpenSUSE and Fedora (you can build from source in other distros but I ain’t got time for that). Having consulted the Linux nerds on Mastodon, and a couple dozen Youtube videos on the subject, I decided to go with OpenSUSE Tumbleweed. I used both distros in college, but I don’t think I have the energy to maintain a Fedora installation that I really just want to play games on. Tumbleweed seems like a good balance between cutting edge support and stability.
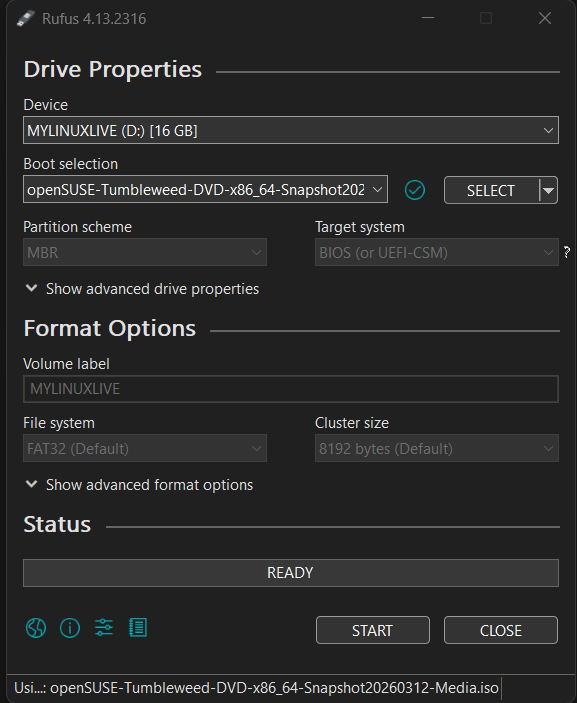
So off we go! First step is to download the ISO. Next, we need to extract it onto a bootable USB. Rufus is my preferred tool to do that. It’s a pretty straightforward (if austere) interface:
Once I’m sure all the files I want to keep are backed up, I need to restart the laptop and make sure it boots from the USB I just set up. To do that, I go into the BIOS to edit the boot order and make sure my USB is first. Once I save and restart, it’ll boot straight into the OpenSUSE installer.
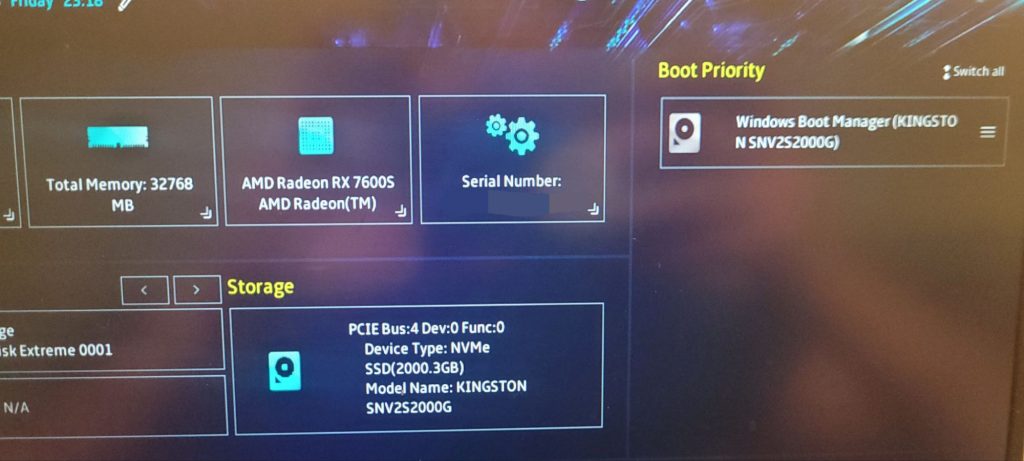
…or so I thought. On first launch, I wasn’t able to even see the USB drive I configured. I had to create a new boot config in the BIOS and manually point it to the drive’s grub.efi file. Now I should have been good to go. The new boot device showed up in the menu and…
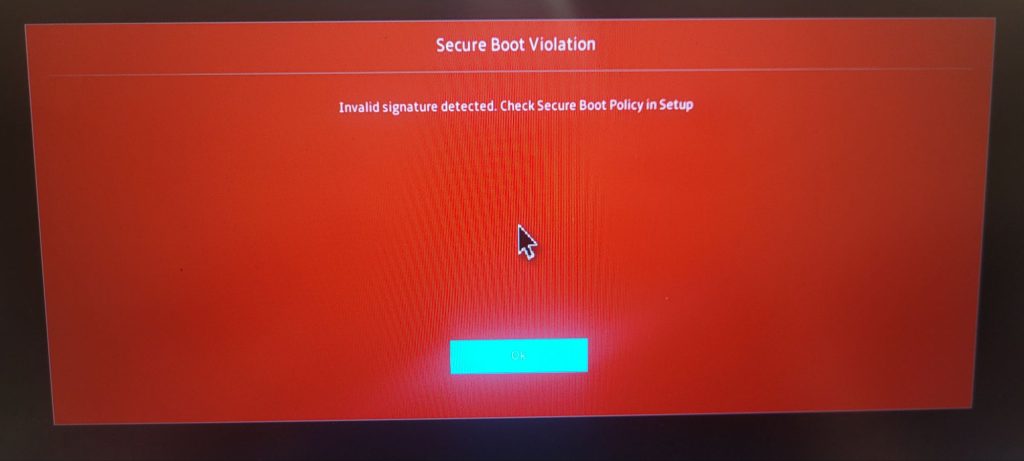
Right. OK. So then I had to head back into the BIOS to disable SecureBoot. Then I restarted it, selected my OpenSUSE media and…
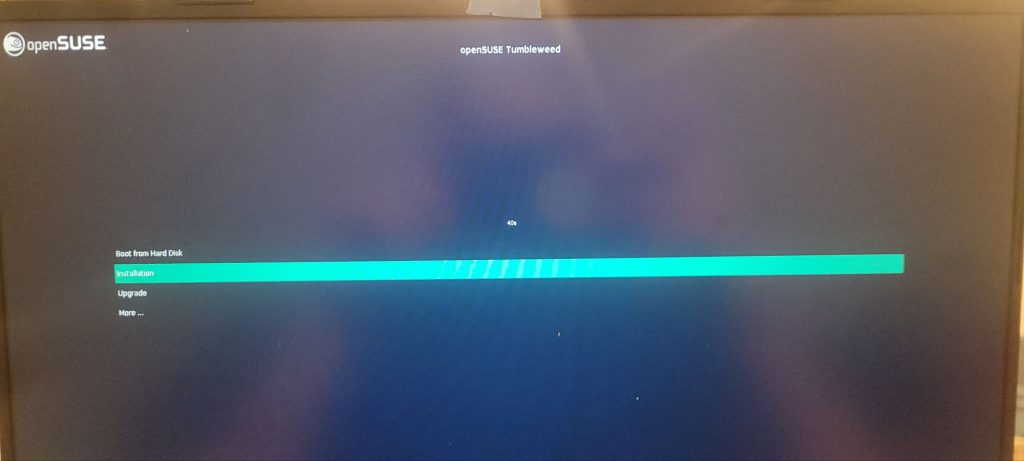
…we’re off! One of these days I’d like to figure out what SecureBoot does and why it’s necessary, but today is not that day.
The rest of the installation was very straightforward. I was impressed that I was offered the ability to resize my Windows partition and maintain access to the files there. We’ve come a long way as a software industry from the days of wiping the entire disk before installing a new OS. I opted for KDE Plasma for my desktop because I’m interested in making this machine look super good.
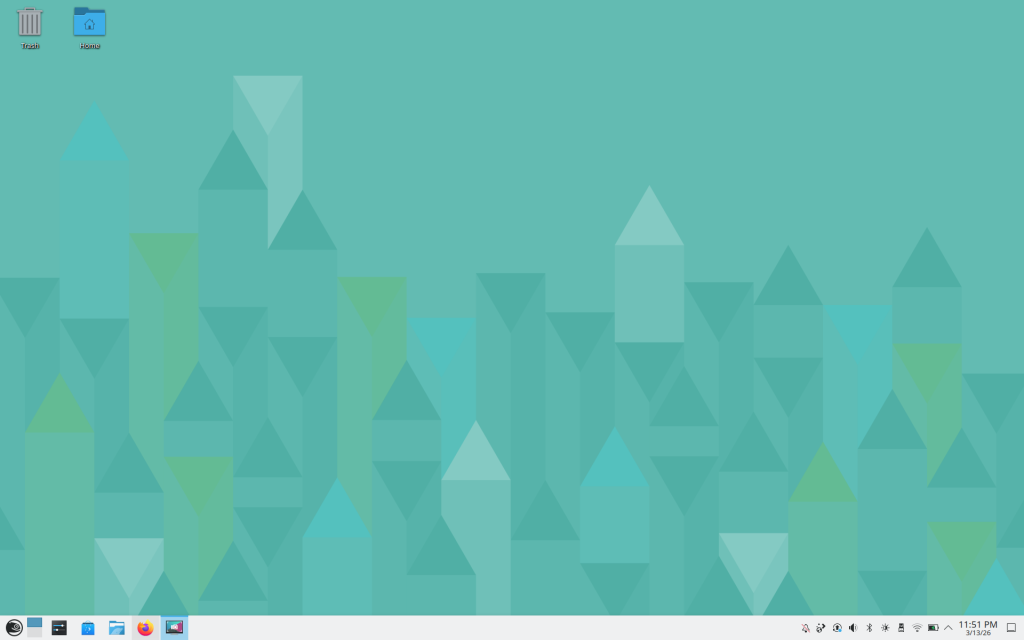
It doesn’t look great right now, but it already feels better than Windows did, just moving the mouse around. Next steps are to install the ROG tools, then Steam, and then get to customizing my KDE Plasma setup. I can’t wait!
Leave a Reply